Set up AutoEntry
AutoEntry is an intelligent, cloud-based solution which eliminates data entry, so you never have to spend time manually entering invoices or receipts again. Create transactions directly in your Accounting software from scanned and photographed paper documents.
If you're new to AutoEntry, the following procedure will get you up and running in no time.
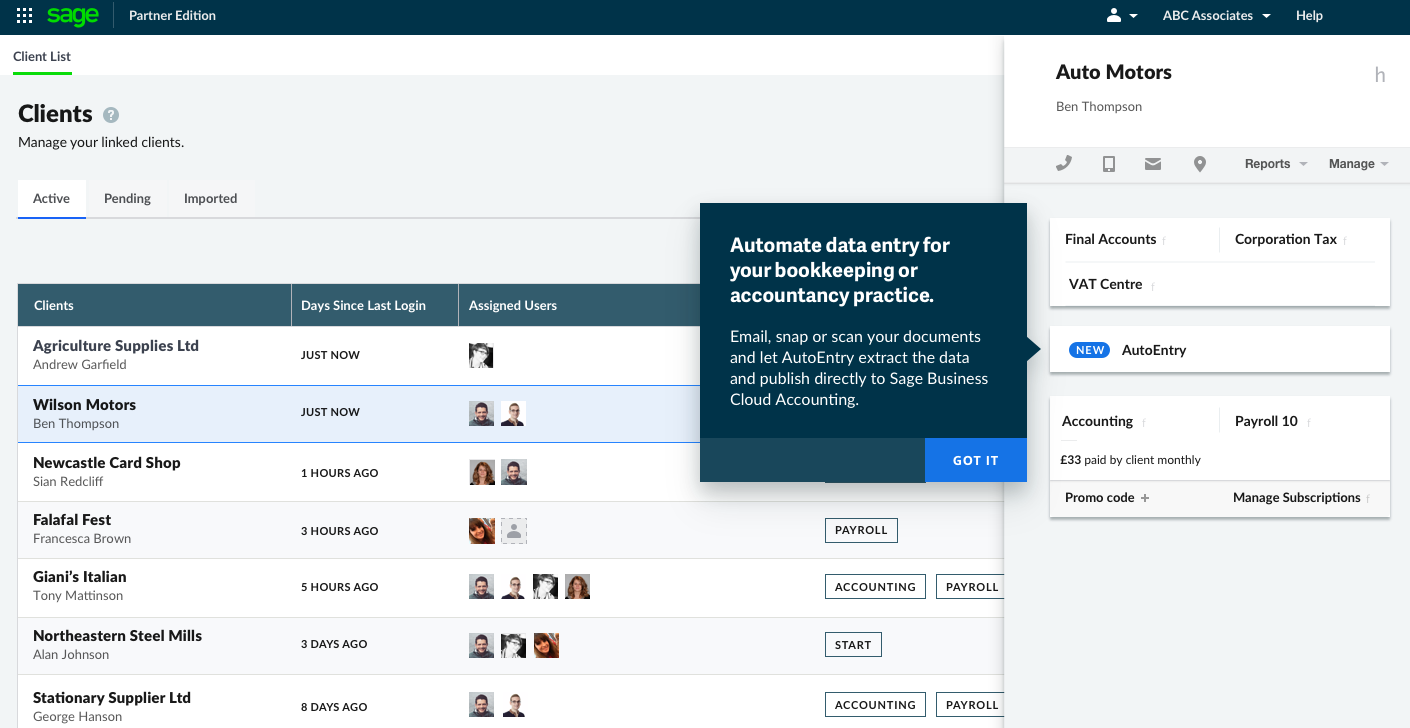
- Within Partner Edition, from the client list, select a client.
-
From the client sidebar, select AutoEntry.

-
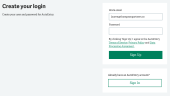
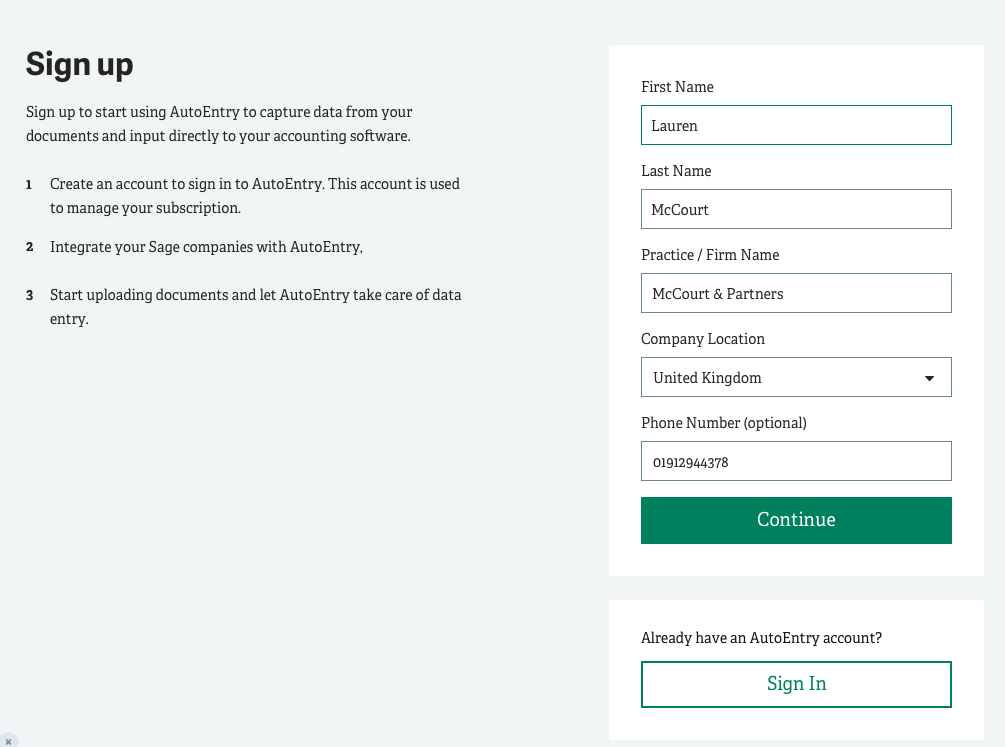
Complete the form, then select Continue to create an account with AutoEntry.

-
Enter your email address and choose a password.
-
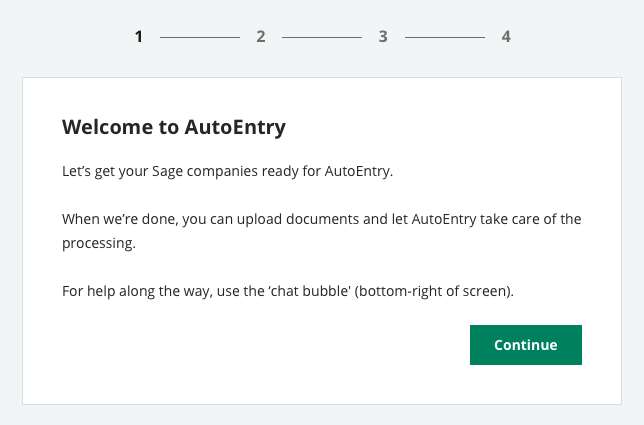
You'll be taken through the setup process. Select Continue to start.

-
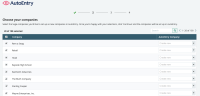
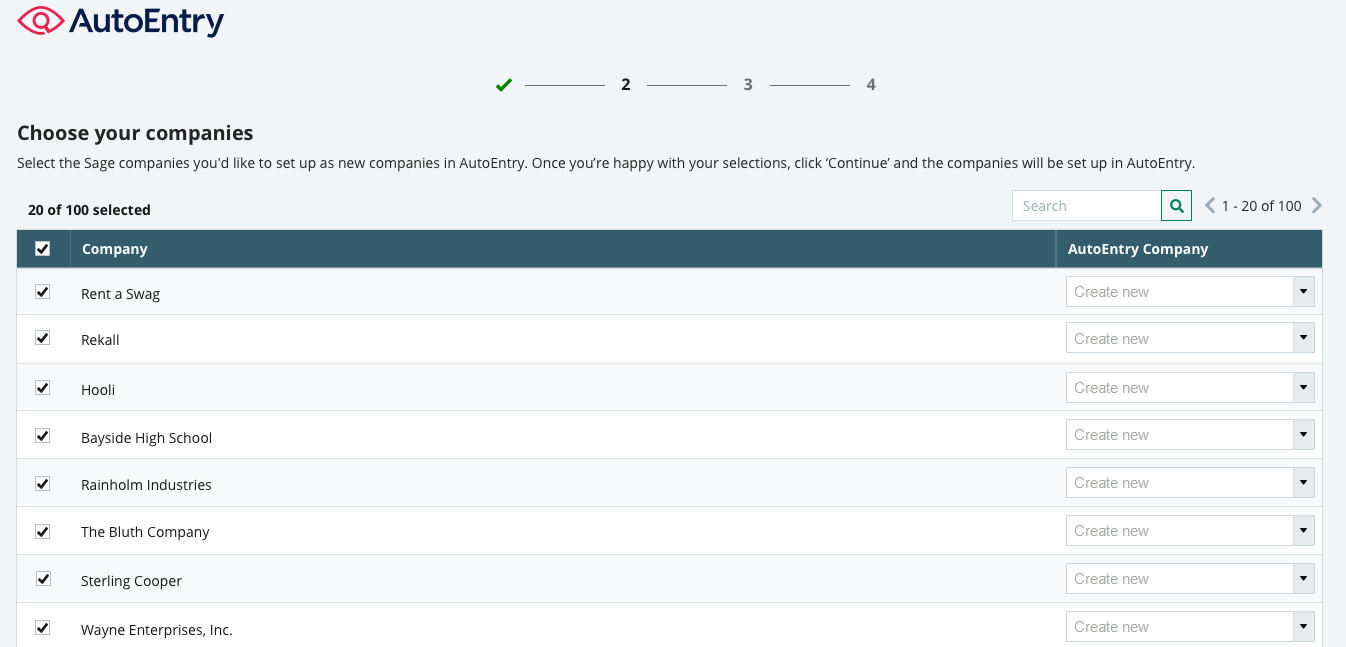
Choose the clients you want to use with AutoEntry.
-
Select Continue.
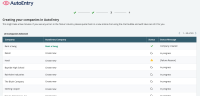
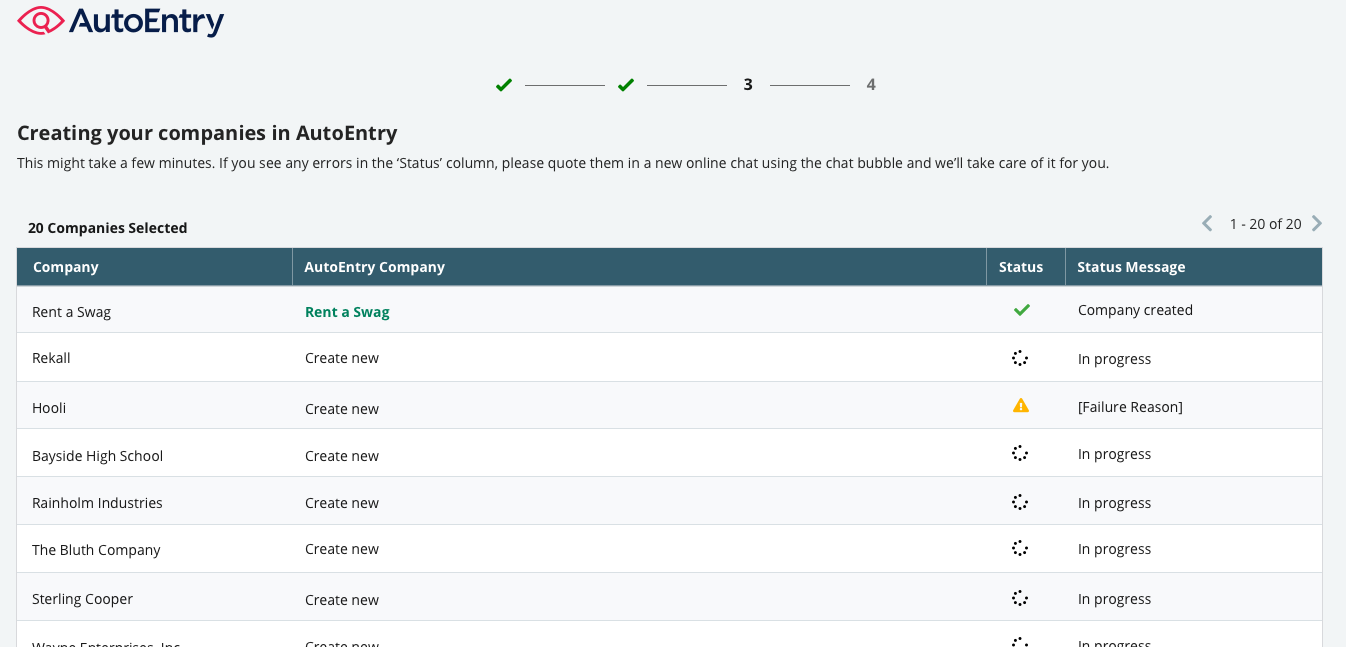
The clients will import into AutoEntry.
-
When all companies are created and integrated, select Continue.
-
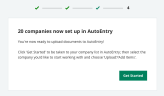
Select Get Started to go to AutoEntry.
-
You'll see your integrated companies in the AutoEntry company list. You're now ready to upload documents.


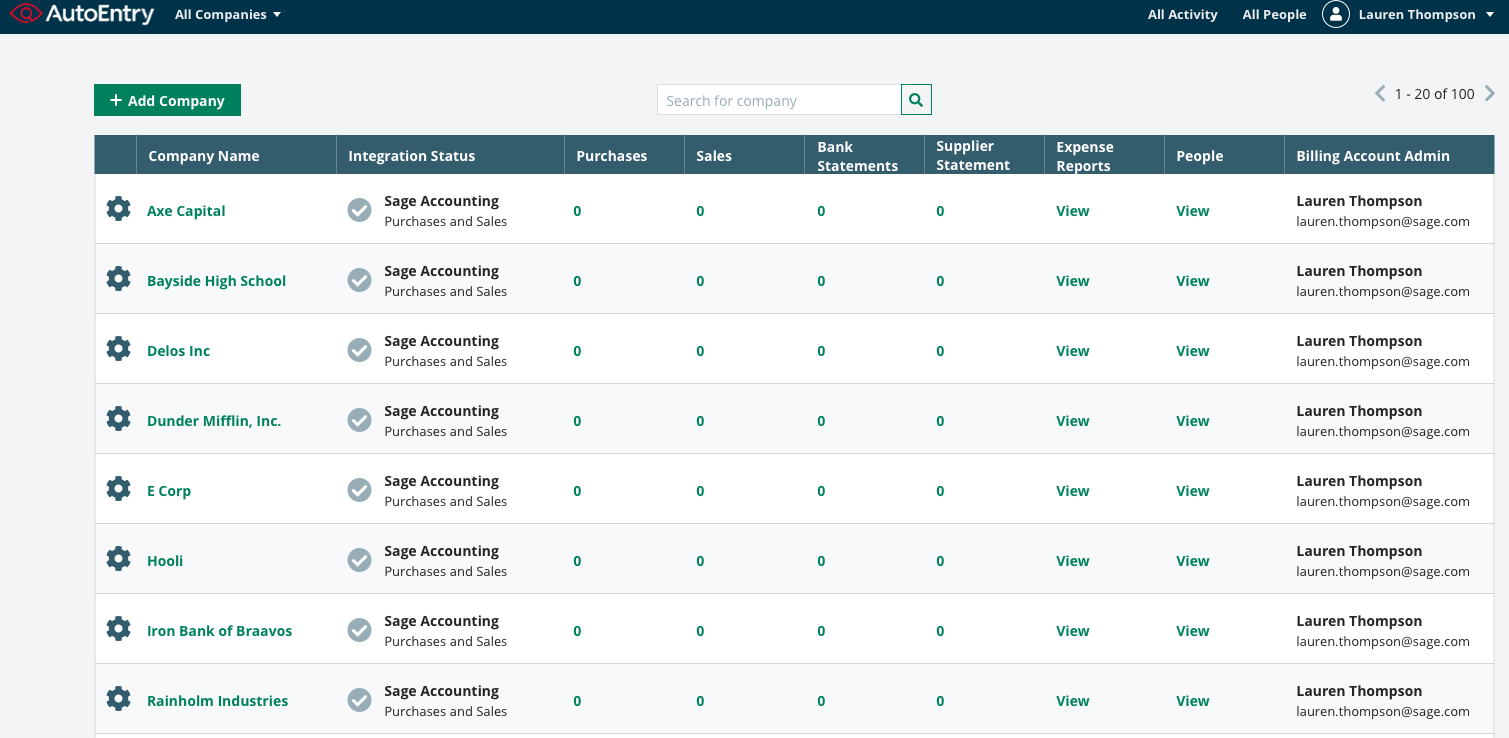
To add multiple companies again, from the AutoEntry company list, select Add Company, then select the Add companies from Sage tab.
The AutoEntry help centre is full of great content to help you understand the service.
For starters, take a look at these topics: